


Every artist wants to draw people. This might be why you doodle in your notebook margins. Maybe, you get frustrated when your drawn faces look wrong. Or, you wonder why “I can’t even draw a stick figure.” These have become the universal non-artist disclaimers. But, here’s the truth: the journey from drawing a stick figure to portraits is= not a leap. Instead, this is a progression of a series of deliberate steps. The steps are manageable steps that anyone can follow.
Month 1-2: Embrace the Stick Figure
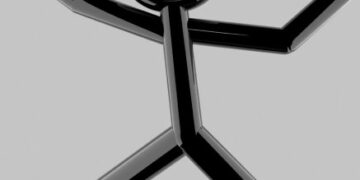
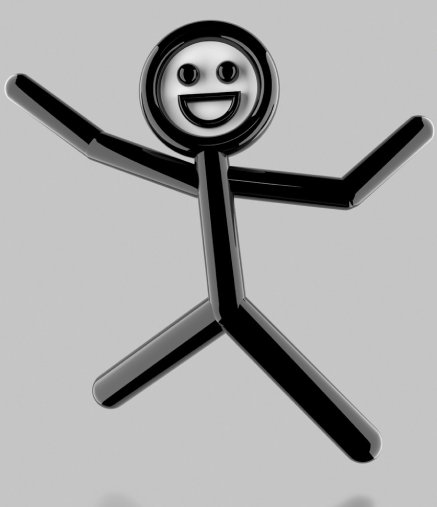
Do not dismiss stick figures as childish. My mom calls me stick man. They’re your foundation for understanding the human proportions and the gestures that go along with them. A good stick figure can capture more life than a poorly rendered detailed drawing.
Start with the classical proportion rule that says, the average adult is 7-8 heads tall. First, draw a vertical line, then divide it into eight equal sections. From the top down, the head should occupy section one. The shoulders should be in section two. The elbows are at three. The hips are in four. Put your knees at six. And, finish off with the feet at eight.
Practice this daily with different poses, a walking pose, someone sitting, and someone reaching, for instance. You can use reference photos but you should reduce them into stick figures. This will help to train your eye to see the underlying structure beneath flesh and also underneath the clothing.
Spend 10 to 15 minutes daily on drawing gestures. Set a timer for 30 seconds per pose. You can use reference sites like Line of Action. Don’t think. Just try to capture the essence of a movement with confident lines.
Month 3-4: Add Volume with Basic Shapes
Transform your stick figures into simplified mannequins using cylinders, spheres, and boxes. The ribcage becomes an egg shape. The pelvis can be a tilted bowl. The four limbs become tapered cylinders. This isn’t about making it pretty. This is about your understanding of the three-dimensional form.
Focus on your connection points. How does the cylinder of the upper arm connect to the sphere of the shoulder? Next, how will you make your neck cylinder emerge from the ribcage of an egg shape? Then, try drawing these mannequins from different angles. When you can rotate a basic figure in space without any reference, Wow! You’ve internalized the human structure.
Month 5-6: The Feature Foundation
Now add your person’s features, but stay simplified. Eyes are just almond shapes along with the horizontal halfway mark of the head. The nose is a triangle or a wedge. And, the mouth is just a curved line. The ears can align between the eye line and nose bottom.
For help, practice the Loomis method for head construction: start with a sphere, slice off the sides, add the jaw as a separate piece. It feels mechanical because it should and that’s what you want it to be for you. You’re building a framework for your later expression.
Next, you could try drawing 100 heads from different angles using this method. Not good heads, just 100 heads. Your volume should beat perfection at this stage. Do not worry about making errors.
Month 7-8: Anatomical Honesty
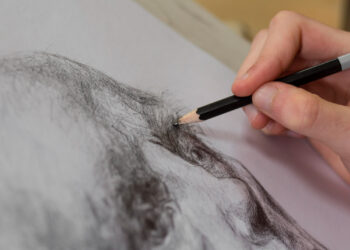
Time for your person’s basic anatomy. You don’t need a medical textbook knowledge or Gray’s Anatomy. But, let’s try to understand the major muscle groups. The deltoid (your shoulder muscles) creates the shoulder’s round shape. The forearm has two bones running through it that twist. The calf muscle sits really high, and creates that characteristic curve on the leg.
It is good to split things up. Educators call this chunking. You could study one body part per week. Draw your arms on Monday. Draw legs on Tuesday. You should also use anatomy references but keep it simple. Simplify what you see into its shapes. You’re not going to be a doctor or a surgeon. As artists, we are learning what creates the human form’s characteristic shapes.
Month 9-12: Approaching Portraits
Only now should you attempt realistic portraits. You’ve earned this because you understand the structure beneath the skin. You should start with self-portraits because you are your most patient model.
Begin with the large shapes. Start with the overall head shape. Then, you may add the shadow pattern and the hair mass. Save your details for last. Eyes aren’t precious jewels to be perfectly rendered while the rest remains unfinished. Build the entire portrait together. You are focusing like a camera lens, gradually.
Study values over features. A portrait reads as correct when the light and the shadow patterns are accurate. This remains true even if the features are simplified. Squint at your reference and drawing constantly. If the blurred versions don’t match, then your values are off.
The Perpetual Circular Journey
This roadmap is not a graduation ceremony. This is a cycle that you will repeat and refine over and over again. Even professional artists will return to gesture drawing. The difference is that they move through these stages more fluidly. They can often do it within the same single drawing.
You can start today with stick figures. In one year, you will have portraits. Not perfect portraits, but honest attempts at building your solid understanding. That’s worth more than any lucky accidents or traced perfection.
Your stick figures are definitely not where you are stuck. Stick figures are where you could start your real figure drawing.


